
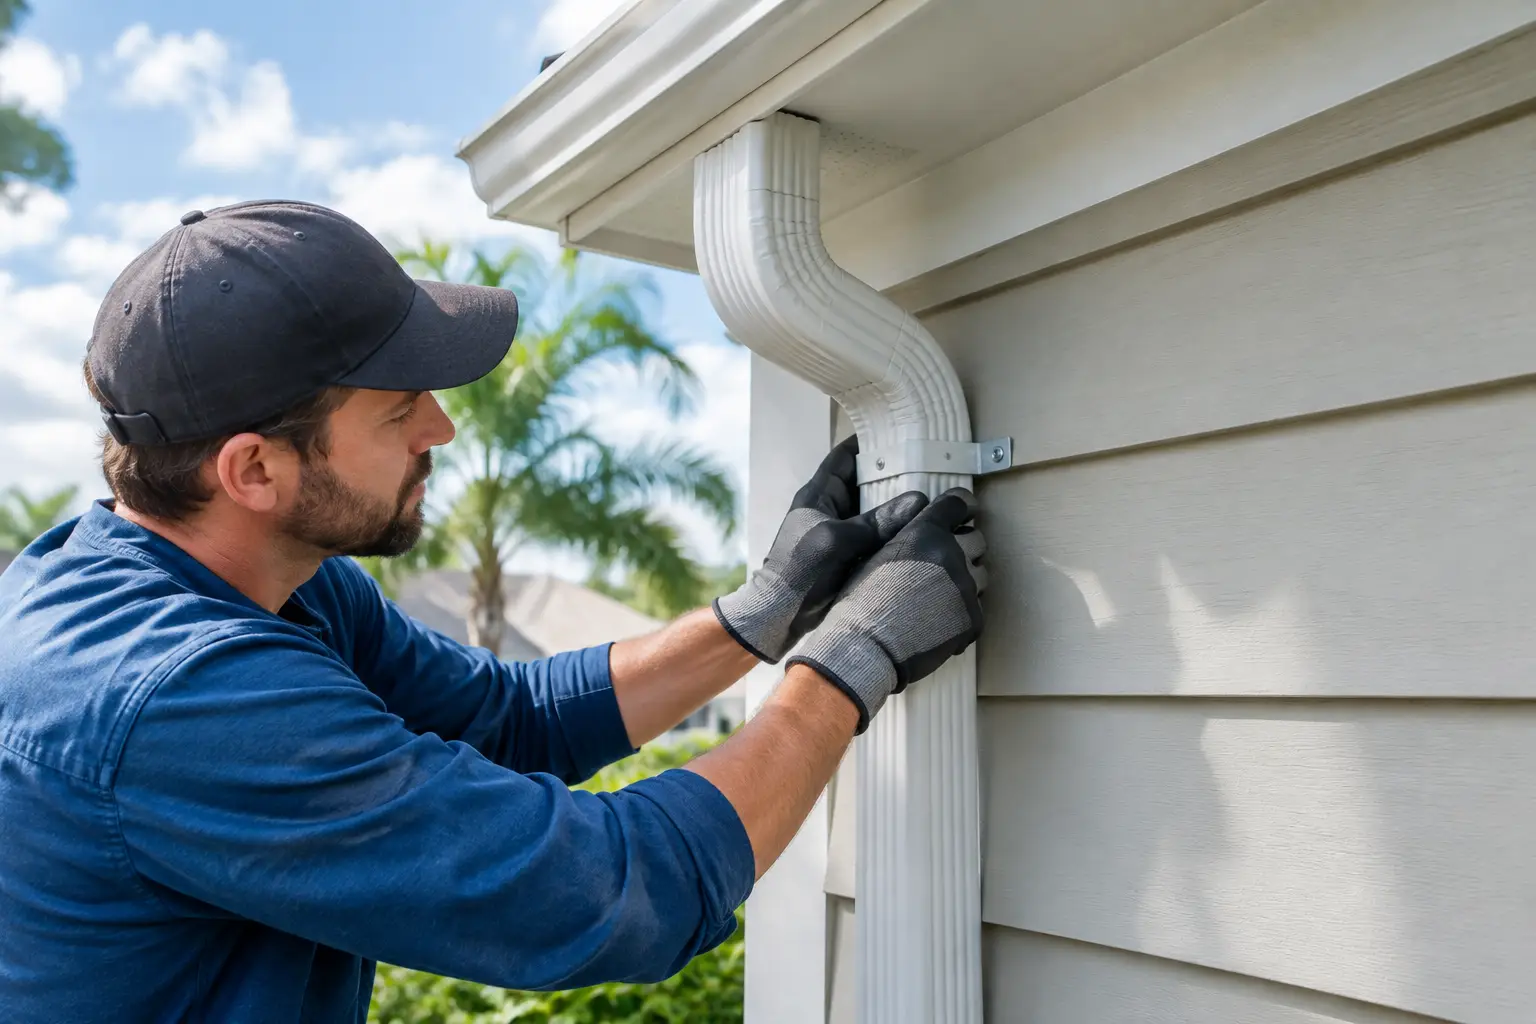
A downspout that rattles against the house or pulls away from the wall may look like a small repair. In Central Florida, it can quickly become a water-control problem when a heavy afternoon storm sends roof runoff over the gutter edge or against the siding. Knowing how to fix loose downspouts helps protect the areas that take the most punishment during a downpour: your exterior walls, landscaping, walkways, and foundation.
The right repair depends on why the downspout came loose in the first place. A missing strap is a simple fix. A downspout that is loose because the gutter is overflowing, the wall fasteners have failed, or the outlet is poorly aligned needs a closer look. Securing it without addressing the cause can leave you with the same problem during the next storm.
Why loose downspouts need attention
Downspouts carry a concentrated amount of water away from the roofline. When one is detached or hanging loose, water can miss its intended path entirely. It may pour beside the foundation, wash out mulch, stain siding, soften soil near a slab, or create puddles where people walk.
Loose sections also tend to worsen over time. Wind moves the metal back and forth, and each movement can enlarge screw holes, bend straps, or pull a gutter outlet out of alignment. The downspout may eventually separate at an elbow or at the bottom of the gutter, often when it is carrying the most water.
For Orlando homeowners and property managers, the timing matters. Our frequent hard rains can expose drainage problems that stay hidden during dry weather. A downspout that seems mostly secure on a clear day may flex, leak, or detach under a full gutter load.
Find the cause before you fix loose downspouts
Start by looking at the entire run, from the gutter outlet at the roofline to the bottom extension or drain connection. Do this from the ground when possible. If a ladder is needed, avoid working alone and do not climb during wet, windy, or stormy conditions.
Look for loose or missing downspout straps, also called bands. These are the brackets that hold the pipe against the exterior wall. Most residential downspouts need support near the top and then at intervals down the run. If a strap is bent, rusted through, or attached to a damaged section of wall, replacing the strap alone may not create a lasting repair.
Next, inspect the joints. Downspout sections and elbows are usually connected with short sheet-metal screws. Missing screws, stripped holes, or sections installed in the wrong direction can cause leaks and separation. The upper piece should overlap the lower piece so water stays inside the system rather than finding an open seam.
Then check the gutter itself. If the outlet where the downspout begins is clogged with leaves, roof grit, or shingle debris, water can back up and push over the gutter edge. If the gutter is sagging or pulling away from the fascia, the downspout may be carrying stress it was never meant to handle. These conditions call for gutter repair or cleaning, not just a new strap.
Finally, watch where the water exits. A downspout that ends too close to the home can saturate the soil near the foundation even when it is tightly fastened. A properly secured extension or drainage connection should direct water away without creating a trip hazard or sending runoff toward a neighbor’s property.
What you may need for a basic repair
For a straightforward strap or joint repair, gather the right materials before starting. You may need replacement downspout straps sized for your pipe, exterior-rated screws, a drill or driver, a nut driver, work gloves, and a tape measure. If you are reconnecting sections, short sheet-metal screws are commonly used.
Choose fasteners that suit the surface behind the downspout. Screws that hold well in wood may not work correctly in masonry, stucco, or certain siding systems. In Florida, corroded hardware is common, so exterior-rated or corrosion-resistant fasteners are worth using. They cost a little more than basic screws but help prevent an early repeat repair.
Avoid driving fasteners through siding without understanding what is behind it. Vinyl siding, fiber cement, stucco, and brick each require different techniques. A poorly placed screw can crack a surface, create a water-entry point, or fail to hold under the weight of a full downspout.
How to secure a loose downspout
If the downspout is still in good condition and the issue is limited to a loose strap, begin by gently bringing it back into position. Do not force a bent pipe tightly against the wall. That can pinch the metal, misalign the joints, and restrict water flow. If the pipe is badly crushed or split, replacement is usually more dependable than trying to reshape it.
Position a new strap around the downspout and mark the attachment points on the wall. The strap should hold the pipe snugly without squeezing it. Secure the strap with the correct fasteners for the wall material, then check that the downspout remains straight from top to bottom.
For a separated elbow or section, slide the pieces together so the upper section fits inside or over the lower section in the correct water-shedding direction. Install screws on the sides of the connection, not directly on the front face where they are most visible. Two screws at a joint are often sufficient for a standard residential downspout, though a damaged or unusually long run may need additional support.
If an old screw hole is stripped, do not keep forcing the same screw into it. Move the fastener slightly, use an appropriate anchor where suitable, or replace the damaged section if there is no solid material left to secure. The goal is a firm connection, not a temporary hold.
After securing the pipe, confirm that the bottom extension is stable. If it has been kicked loose, lifted by lawn equipment, or washed out of position, reattach or replace it. The system should carry water away from the house in a controlled path.
Test the repair before the next storm
A visual inspection is helpful, but a water test tells you whether the repair will perform. Use a garden hose at the gutter’s upper end if it is safe to do so, or run water into the gutter from a controlled position. Do not stand on a ladder while handling a hose.
Watch for water escaping at joints, backing up at the gutter outlet, or spilling from the top of the downspout. Check whether the pipe shifts against the wall as water flows through it. At ground level, make sure the discharge moves away from the home rather than collecting beside the foundation.
If the downspout stays secure but water still overflows, the problem may be clogged gutters, an undersized drainage path, an improperly pitched gutter, or a layout issue with the system. Fasteners cannot solve a water-capacity problem.
When a professional repair is the better choice
A homeowner can often replace a strap or reconnect a simple joint. Professional service is a better option when the downspout has pulled away from a high roofline, the gutter is sagging, the fascia shows rot, or the wall surface is damaged. The same applies when multiple downspouts are loose, water is entering the home, or runoff repeatedly pools near the foundation.
Property managers may also benefit from having recurring gutter and downspout issues evaluated together. Replacing individual screws after every storm is not efficient if clogged gutters, poor outlet placement, or aging hardware are causing the failures.
Precision K-Gutters can inspect the full drainage path, make clean repairs, and recommend a direct solution when a loose downspout points to a larger gutter issue. A proper repair should secure the downspout, restore water flow, and leave the exterior looking orderly.
A loose downspout is easiest to address before the forecast turns dark. Take a few minutes after a heavy rain to check how water moves around your home, because that is when small drainage issues are most likely to show themselves.