
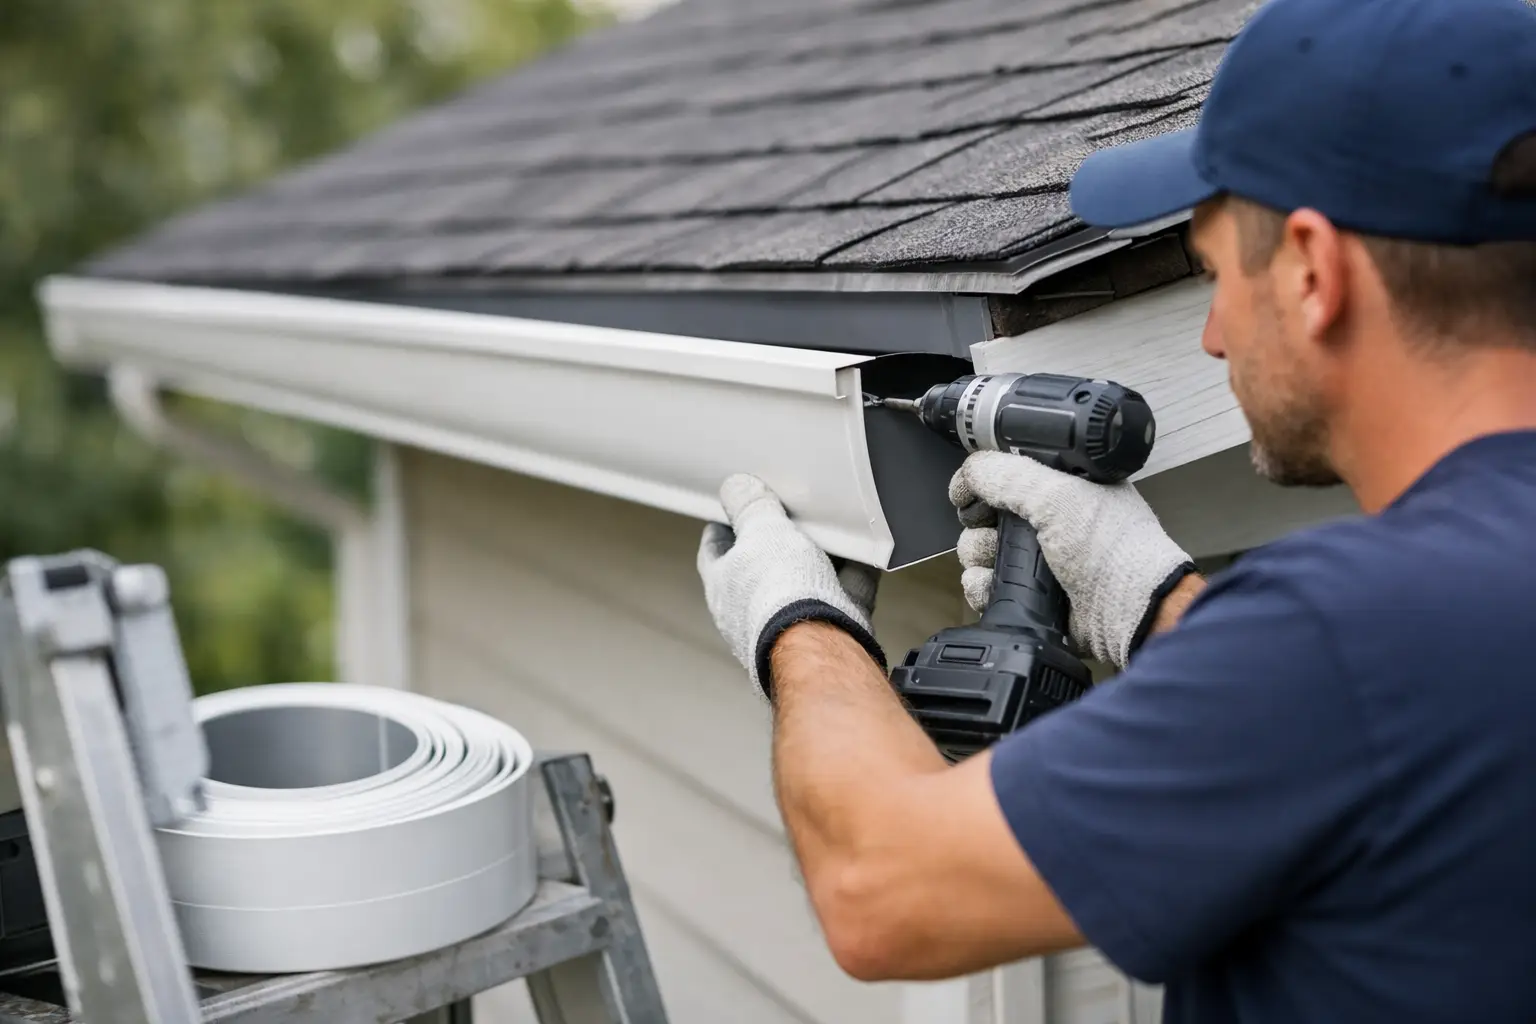
A gutter system has one job during a Central Florida downpour: collect roof runoff and move it away from the house before it can overflow near siding, soffits, landscaping, or the foundation. Understanding how seamless gutters are installed helps homeowners see why a custom fit, proper slope, and correctly placed downspouts matter far more than simply attaching metal to the roofline.
For most homes, professional installation is completed in a day. The exact timeline depends on the home’s size, roofline complexity, existing gutter condition, and weather. The process is methodical because small installation details can create big drainage problems once heavy rain arrives.
How Seamless Gutters Are Installed Step by Step
1. The roofline and drainage plan are assessed
Installation starts with an on-site inspection and measurement of every roof edge that needs drainage. A contractor checks the fascia boards, roof valleys, soffits, corners, and existing gutter system, if one is present. This first step identifies more than just the total linear footage of gutter needed.
The installer also determines where water naturally concentrates. Roof valleys can send a large volume of water into one short gutter section, while long roof runs may require additional downspouts to prevent overflow. In Orlando, where fast-moving storms can drop heavy rain in a short period, downspout planning is especially important.
The condition of the fascia matters, too. Gutters need a secure mounting surface. If the wood is soft, rotted, or damaged from prior leaks, it should be addressed before new gutters are mounted. Covering a problem board with new gutter material may look better temporarily, but it does not create a lasting repair.
2. Old gutters are removed when necessary
If the home already has gutters, the old sections, brackets, and downspouts are carefully removed. This gives the installer a clear view of the fascia and reveals hidden issues, such as loose fasteners, water-stained wood, or areas where the previous system was improperly pitched.
Not every project requires a full replacement. A localized repair can make sense when a system is otherwise sound and the issue is limited to one leaking joint, sagging section, or damaged downspout. But when older sectional gutters have multiple leaks, visible separation at joints, or widespread corrosion, replacement is often the more practical long-term choice.
3. Each gutter run is measured precisely
Unlike pre-cut gutter sections sold in standard lengths, seamless K-style gutters are formed for the dimensions of each roofline. The installer measures each run carefully, including corners, end points, and planned outlet locations for downspouts.
The gutter is also laid out with a slight pitch toward the downspout. The slope is subtle enough that it should not stand out from the ground, but it is necessary to keep water moving. A gutter that is too flat can hold standing water and debris. One that is pitched too aggressively may look uneven and reduce curb appeal.
Long runs need additional attention. Depending on the length and roof drainage load, one downspout may not be enough. A professional plan balances a clean appearance with the capacity needed to handle runoff without sending water over the front edge during a storm.
4. The gutter is custom formed on-site
After measurements are confirmed, a gutter-forming machine shapes a continuous piece of aluminum to the required length. This is where the system gets its name: each straight run is made from one custom-formed piece rather than several shorter pieces joined together.
There are still joints at corners, end caps, and downspout outlets. Those areas are sealed during installation. However, eliminating unnecessary joints along straight runs reduces common leak points and gives the roofline a cleaner, more consistent appearance.
Aluminum is a common choice for residential gutters because it is lightweight, resists rust, and is available in colors that complement the home’s exterior. The right material thickness and finish depend on the property, budget, exposure, and expected drainage demands. A clear estimate should explain the materials being used instead of leaving homeowners to guess.
5. Outlets, end caps, and corners are prepared
Before the gutter is hung, the installer cuts openings for downspout outlets and fits the necessary end caps and corner pieces. These connection points are secured and sealed to reduce the chance of leaks.
This part of the job deserves care because corners and outlets handle concentrated water flow. Poor sealing, rushed cuts, or weak connections can create drips that stain siding or wash out mulch below. Quality workmanship is not just about a straight-looking gutter line. It is also about secure, weather-resistant details at every connection.
6. The gutter is mounted with the right slope and support
The custom-formed gutter is set along the fascia and secured with hangers or hidden fasteners spaced to support the system properly. These fasteners keep the gutter stable against the weight of water, wet leaves, and wind-driven rain.
The installer maintains the planned slope toward the downspout while mounting the run. This is a critical step. A gutter can appear level from the driveway but still be positioned to drain correctly. Proper installation avoids the two issues homeowners notice most often: water sitting in the gutter after rain and sections that sag away from the fascia.
Fastener placement also matters on homes with long eaves or areas exposed to intense weather. Too few supports can allow a gutter to pull away or dip over time. Enough secure supports help the system remain straight and functional through repeated Florida rainstorms.
7. Downspouts are fitted and directed away from the home
Once the main gutter runs are in place, downspouts are connected to the outlets. The installer selects locations that move water away from entrances, walkways, air-conditioning equipment, and the foundation whenever possible.
A downspout should not simply empty beside the house. Extensions, elbows, and discharge direction should carry water to a suitable drainage area. The best option depends on the lot grading, landscaping, hardscape, and local drainage conditions. On a tightly landscaped property, a small adjustment in where water exits can prevent recurring erosion or pooling.
Downspout size is also part of the design. Larger roof areas and valley-fed sections may need more drainage capacity than a small roof run. Installing too few downspouts, or undersizing them, can cause overflow even when the gutters themselves are clean.
8. The system is tested, inspected, and cleaned up
A professional installation ends with a final inspection. The crew checks that the gutters are secure, slopes are correct, seams are sealed, and downspouts are firmly connected. Water testing may be used to confirm that flow reaches the downspouts as intended.
The job site should be left clean, with old materials and metal scraps removed. Homeowners should also receive straightforward guidance on maintenance. Even a well-installed gutter system needs periodic cleaning, particularly beneath trees or after major storms. Leaves, pine needles, roof grit, and seed pods can collect at outlets and slow drainage.
What Can Affect Gutter Installation Cost and Design?
The total cost is not based on footage alone. A simple one-story home with straight rooflines will usually require less labor than a two-story property with multiple corners, steep access, screened enclosures, or high roof valleys. Fascia repair, removal of old gutters, additional downspouts, and leaf guard installation can also affect the scope.
Leaf guards can reduce the amount of debris entering the system, but they are not a replacement for every maintenance need. The right guard depends on nearby trees, roof material, and the type of debris around the property. A good recommendation should be based on the home, not a one-size-fits-all upsell.
For homeowners and property managers, the practical goal is simple: install a system that collects water reliably, drains it where it should go, and stays secure through regular storms. When gutters are custom measured, correctly supported, and maintained over time, they do quiet work that protects some of the most expensive parts of a property. If you are seeing overflow, sagging, leaks, or water collecting near the home, a clear on-site assessment is the right place to start.