
Heavy rain exposes bad gutter work fast. If water spills over the front edge, pools near the foundation, or runs behind the gutter, the system is not doing its job. That is why the gutter installation process matters more than most homeowners realize. A clean-looking gutter line is only part of the goal. The real job is controlling roof runoff so water moves away from the house where it belongs.
In Central Florida, that matters year-round, but especially during long stretches of hard rain. A properly installed gutter system helps protect fascia boards, soffits, landscaping, siding, entryways, and the areas around your foundation. It also helps reduce the constant frustration of overflow and splashback around the home.
What the gutter installation process is meant to solve
Most people start looking into new gutters because something is already going wrong. Maybe the existing system leaks at the seams. Maybe sections are pulling away from the roofline. Maybe the downspouts dump water in the wrong place, creating soggy spots near the house.
A good installation addresses those issues directly. The goal is not just to hang new metal on the edge of the roof. The goal is to create a system that matches the roofline, handles expected water volume, drains correctly, and holds up over time. That is why measurement, pitch, fastening, and downspout placement all matter.
For many homes, seamless K-style gutters are the practical choice because they give a clean appearance and reduce the number of joints where leaks can develop. Fewer seams usually means fewer weak points. That does not make every home identical, though. Roof shape, fascia condition, valleys, and drainage patterns all affect the final layout.
Step 1: Inspection and planning
The first step in the gutter installation process is a close look at the home. This is where an installer checks the roof edges, fascia boards, corners, slopes, and current drainage behavior. If the wood behind the old gutters is damaged or rotted, that has to be addressed before new gutters go up. Installing onto failing fascia only covers the problem for a short time.
This is also the stage where water volume is considered. A simple roofline may be straightforward, but larger roof sections and concentrated runoff from valleys can require more careful planning. In Florida storms, that extra volume matters. A layout that works during light rain may struggle during a downpour if the gutter size or downspout placement is not right.
Planning also includes deciding where downspouts should discharge. Sometimes the old locations are fine. Sometimes they are part of the problem. If water has been collecting near corners, walkways, or planting beds, a better routing plan can improve drainage immediately.
Step 2: Measuring and fabricating the gutters
Once the layout is set, the gutters are measured to fit the home. With seamless systems, each section is typically formed on-site to the required length. That gives a more custom fit and avoids many of the connection points found in sectional systems.
This part may look simple from the ground, but accuracy matters. If measurements are off, corners will not meet cleanly, slope can be affected, and the finished line may look uneven. A professional install should follow the roofline neatly while still allowing for the slight pitch needed to move water toward the downspouts.
Homeowners sometimes assume perfectly level gutters are best because they look straight. In practice, gutters need controlled pitch to drain correctly. Too little slope and water can sit in the trough. Too much and the system may look off or pull water too aggressively toward one point. The right balance is subtle but important.
Step 3: Removing old gutters and preparing the edge
If an old system is being replaced, removal comes next. This should be done carefully to avoid damaging the fascia, drip edge, soffits, or nearby landscaping. A clean removal also makes it easier to see any hidden issues that were covered up by the old gutter line.
Preparation is one of the most overlooked parts of the job. The mounting surface needs to be sound, secure, and ready for the new hangers or brackets. If fasteners are being attached to weak wood, the new system may start sagging sooner than expected, especially under the weight of heavy rain and debris.
This is also a good time to check how the roof edge meets the gutter area. In some cases, flashing or drip edge details can affect whether water flows cleanly into the gutter or slips behind it. A good installer pays attention to that transition instead of assuming the gutter alone will fix every drainage issue.
Step 4: Hanging the gutters with the right pitch and support
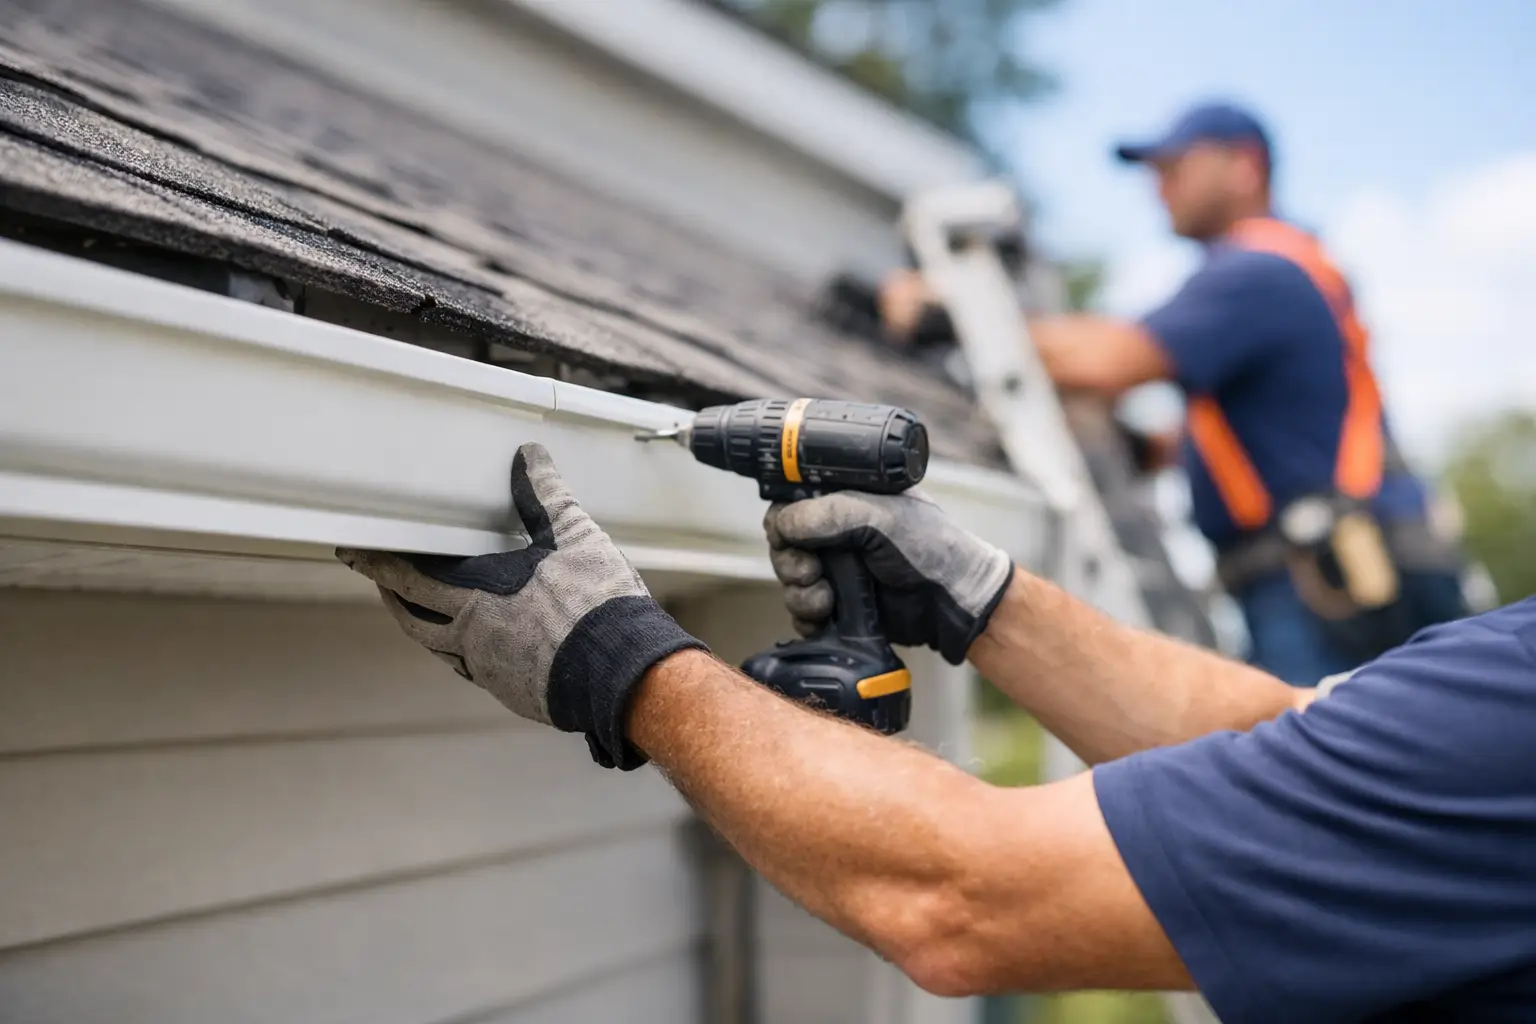
This is the core of the gutter installation process. The gutter sections are positioned, pitched, and secured to the home using appropriate hangers and spacing. The fastening method matters because a gutter system has to stay stable through storms, wind, standing debris, and repeated expansion and contraction.
Spacing support too far apart can lead to sagging over time. Poor alignment can create low spots where water sits. Weak attachment can loosen the system during severe weather. A clean install should look straight from the curb while still being engineered to drain.
Corners, end caps, and outlet points are sealed and connected as needed. Even with seamless gutters, some connection points still exist, and those details need to be done carefully. This is one reason workmanship matters. The biggest section of gutter may be seamless, but the system still depends on clean assembly at the transitions.
Step 5: Installing downspouts where they actually help
Downspouts are not an afterthought. They are a major part of how the system performs. If gutters collect water well but the downspouts are undersized, poorly placed, or aimed at the wrong area, drainage problems can continue.
A proper downspout setup should move water away from the base of the house in a controlled way. That may mean adjusting the number of downspouts, changing their locations, or adding extensions where runoff needs to be pushed farther from the foundation. On some homes, preserving appearance is also part of the plan, so placement should balance function and curb appeal.
This is where local experience helps. In Orlando-area conditions, intense rainfall can expose weak downspout planning quickly. A system that seems fine during ordinary weather can overflow at key roof sections during a storm if it was not designed for the volume coming off the roof.
Step 6: Testing and cleanup
Before the job is truly finished, the system should be checked for flow and fit. Water testing can help confirm that the pitch is doing its job, outlets are draining, and no obvious leaks are present at seams, corners, or end caps. It is much better to catch a minor issue at install time than after the next heavy rain.
Cleanup matters too. Metal scraps, fasteners, sealant pieces, and old gutter debris should not be left around the property. A professional job includes leaving the area clean and making sure the homeowner knows what was installed, how it drains, and whether any maintenance recommendations apply.
That straightforward communication is part of good service. Homeowners should not be left guessing about what was changed or where the water is now supposed to go.
What can affect the timeline or cost
Not every install takes the same amount of time or follows the exact same pattern. A single-story home with simple rooflines is usually more straightforward than a multi-level property with tight access, multiple corners, steep sections, or drainage trouble spots. Fascia repairs, custom downspout routing, and leaf guard additions can also change the scope.
Material choice matters too, but for many residential properties, the bigger difference in value comes from fit and workmanship rather than chasing unnecessary upgrades. A well-installed system that matches the home and handles rain correctly is usually the better investment than a poorly planned install with extra features attached.
There is also the question of whether existing problems are truly gutter-related. Sometimes splashback, rot, or pooling involves grading, roof edge details, or prior water damage beyond the gutter itself. A dependable contractor should be honest about that instead of blaming every issue on the gutter line.
Why professional installation usually pays off
Some home projects are forgiving. Gutters are not always one of them. Small errors in slope, fastening, outlet placement, or measurement can lead to leaks, overflow, and repeat repairs. Those mistakes often show up only after a storm, when water is already running where it should not.
Professional installation helps reduce those risks because the system is built around the house, not pulled from a one-size-fits-all shelf plan. For homeowners and property managers, that means fewer surprises and a better chance of long-term performance.
At Precision K-Gutters, that practical approach is the point. Clean installs, custom-fit seamless systems, and clear communication are what help a gutter system do its job long after the truck leaves.
If you are considering new gutters, the best next step is not guessing at materials or colors first. It is making sure the layout, pitch, and drainage plan match how your home actually handles rain.